
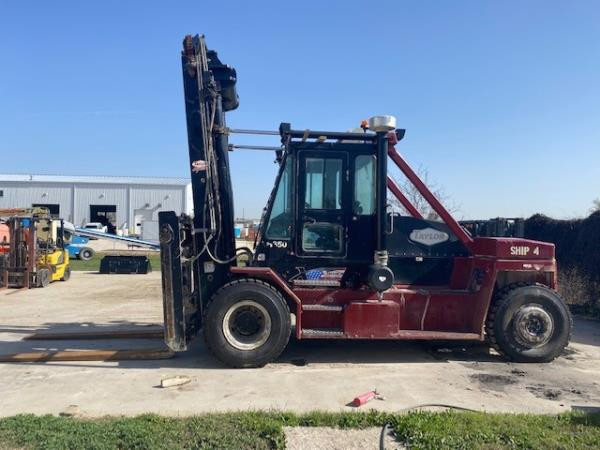
Make: TAYLOR
Model: TXH350L
Year: 2016

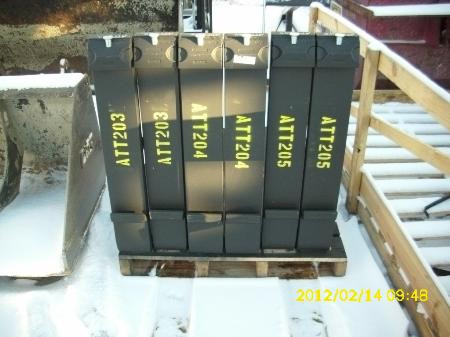
Make: Manitou
Model: 48" Forks
Year: 2012
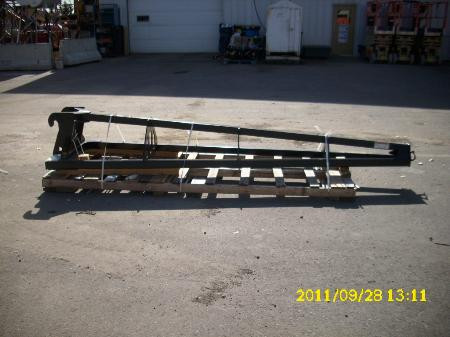
Make: JLG
Model: Truss Jib 12'
Year: 2011
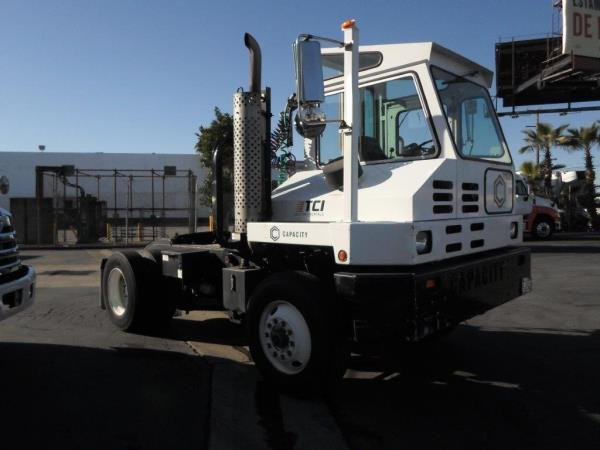
Make: Capacity
Model: TJ5000 DOT
Year: 2010
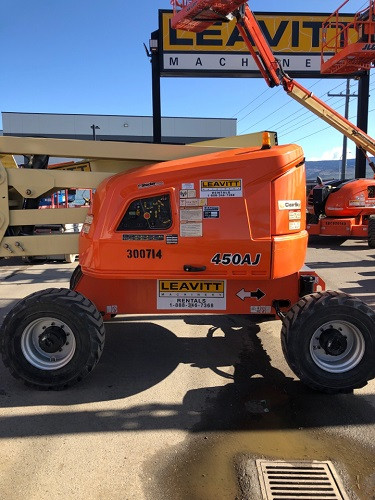
Make: JLG
Model: 450AJ
Year: 2016

Make: FrostFighter
Model: IDF350
Year: 2015
Daewoo Propane Forklifts Sacramento
Change a Propane Tank
Propane powered forklifts are frequently utilized inside warehouses. The lift truck is designed with the propane tank mounted at the back of the driver. The tanks, which look much like beer kegs, need to be replaced periodically since they have a limited lifespan. Forklift operators should utilize caution when handling propane tanks. Compressed gases are hazardous, specially because the gas is flammable. Always utilize caution when replacing and removing propane tank to prevent being injured.
1 If there is a need to change the propane tank, the first step is to stop the forklift, then turn off the tank valve. The forklift must be left on until the engine dies. This procedure burns the gas off inside the transfer hose that connects the engine and the tank. Before taking the next steps, put on the proper safety equipment, like for example insulated gloves made of either leather or neoprene. It is really important for you to protect your skin from touching the compressed gas, which is extremely cold.
2 Disconnect the hose from the tank and take off the holding straps to remove the tank. When you put in a new tank, reconnect the holding straps and reattach the hose at the valve of the tank by tightening the nut.
3 Leaks can be checked just by applying soapy water to the valve and opening it slightly. If there is a leak, it will cause bubbles to foam from around the valve. If this occurs, inspect the connection hose at the nut and the valve area. The connecting nut should be re-tightened if you detect any leaks around the area of the valve, and afterward perform the leak checking process all over again. Persistent leaks mean that both the connecting hose and nut should be replaced. However, if replacing the nut and hose still does not stop the leak, the tank must be replaced.
4 Open the valve all the way to enable the gas to fill the connecting hose. Afterward you can start the lift truck and resume working.
- Taylor Lifts Sacramento
No matter what kind of business or industry you are a part of, it will be necessary to have a lift truck if you have components or equipment to transport on a consistent basis. Whenever... More - Yale IC Forklifts Sacramento
Internal Combustion Lift Trucks The Internal Combustion forklift belongs within the class IV and V forklift classification. They can be liquid propane, gas or diesel units. Primarily, the ICE or also referred to as internal... More - Skyjack Knuckle Boom Lifts Sacramento
Boom Truck Boom trucks are quite like cranes and can be equipped with a winch for lifting. This will depend on the weight and size of the vehicle, that determines the type of cargo that... More - Hyundai Lift Trucks Sacramento
Hyundai Electric and IC forklift trucks offer excellent quality and comfort. Some of the top priorities in the equipment design comprise safety and high durability. There are more than 70 different models of Hyundai Forklifts... More - Mitsubishi Large Capacity Forklift Sacramento
There are times it pays to examine the method of choosing a forklift. Like for example, does your company consistently choose the same models for your dock work? If so, you could potentially miss out... More